Momofuku Milk Bar Birthday Cake
Today is our blog's birthday! One year ago today we started chronicling all of the recipes we try. We've become significantly more adventurous and our cooking skills have greatly improved. A couple of years ago, there was no way I would have ever felt this confident in the kitchen, but with lots of practice and lots of research, I'd like to think that I've become a pretty decent cook and baker, and I definitely have discovered a passion that I didn't know existed.
Spending so much time in the kitchen over the last year has been incredibly therapeutic for me as I have tried to figure out what I'd like my career path to be. I've felt so lost in many ways, applying to jobs and not hearing back, and feeling worthless as I've transitioned from college to the real-world unable to find a job and not knowing what to do long term. But over the last few months I made some decisions, hoping they are right for me, and hoping I can get into graduate school to bring these decisions to fruition. My time in the kitchen over the last year has given me structure in what could have turned into an incredibly structureless time for me, and gave me goals to accomplish everyday rather than just watching TV whenever I'd grow frustrated with my job search. When you are having a bad day, feeling down on yourself, and question every (academic) decision you ever made, trust me when I say there is no greater skill than being able to whip up an amazing batch of chocolate chip cookies (or chocolate chip cookie dough cookie sandwiches for a really bad day) to make yourself feel better. While career-wise I've been presented with some challenges, the last year has also been fabulous in many ways— getting married to my best friend and adopting the sweetest puppy in the world (even if that was slightly over a year ago)! I also feel incredibly fortunate that I have such an amazing partner who does so much to provide for me, and has allowed me to spend so much time in the kitchen developing my cooking skills instead of working a mindless job I hate to pay my student loans. I would say he's benefited from the situation a little bit as well!
To celebrate our one-year anniversary of blogging, here is the birthday cake from the Momofuku Milk Bar Cookbook (another amazing cookbook that I can't wait to bake my way through— especially crack pie) straight from Momofuku Milk Bar in New York City. This cake was actually made back in August when Dustin's parents visited us as part of a birthday present to them, but I thought I'd save this colorful, birthday-themed post for today. Dustin could not stop raving about how much he loved this cake. I'm debating whether or not I will make it for his big day coming up in November or if I want to try something new.
It's like the perfect, classic, vanilla Funfetti birthday cake from a box but taken to the next level because it's all from scratch and takes a lot of time and love. The cookbook talks about using imitation vanilla to capture that traditional, nostalgic birthday cake flavor, but I honestly couldn't find a clear imitation vanilla as was called for, so I stuck with my Penzey's double strength vanilla, and I think this cake was perfect as is.
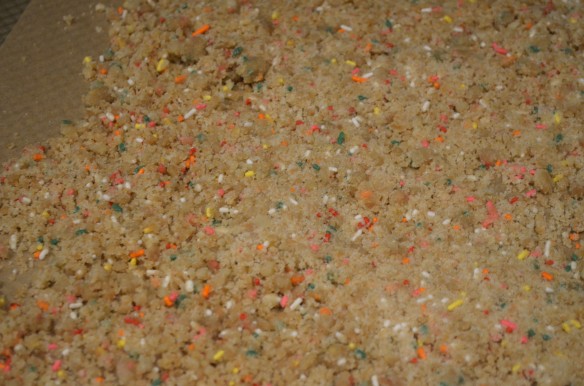
First you make the birthday cake crumb, which really takes this cake to the next level. To make the crumb combine 1/2 cup granulated sugar, 1 1/2 tablespoons of tightly packed, light brown sugar, 3/4 cup cake flour, 1/2 teaspoon of baking powder, 1/2 teaspoon salt, and 2 tablespoons of rainbow sprinkles in the bowl of a stand mixer and mix with the paddle attachment (on low) until just combined. Add 1/4 cup of grapeseed oil and 1 tablespoon of vanilla (here's where I used real vanilla extract instead of imitation vanilla) and mix until small clusters are formed. Spread these clusters on a baking sheet covered with parchment paper and bake for 20 minutes at 300°. Once the crumbs are removed from the oven they will dry and harden and make a delicious snack all on their own. Make sure not to eat all of the crumb before assembling the actual cake. These crumbles can be kept in an airtight container for up to a week, so you can make them a day or so before you actually bake the cake to save yourself some time, as this is definitely a dessert that requires a little time and planning.
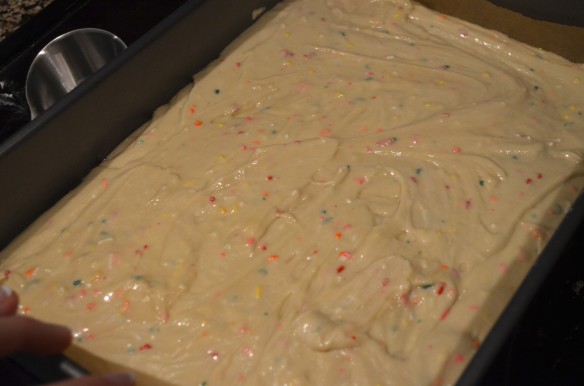
Next comes the making of the actual cake. What's great about this layer cake is that you bake it in a regular quarter sheet cake pan, then cut out two circles with a 6" cake ring, and use all of the scraps to make a third layer. Very resourceful.
Preheat the oven to 350°. Combine 4 tablespoons of room temperature butter, 1/3 cup of vegetable shortening, 1 1/4 cups granulated sugar and 3 tablespoons of tightly packed, light brown sugar back in the bowl of an electric mixer with the paddle attachment and mix on medium-high for 3 minutes until the mixture is light and fluffy. Add in 3 eggs and mix some more, making sure to scrape down the sides of the bowl. Turn down the speed to low and slowly add in 1/2 cup buttermilk, 1/3 cup grapeseed oil and 2 teaspoons of vanilla extract. Turn the speed back up and mix for approximately 5 minutes or "until the mixture is practically white, twice the size of your original fluffy butter-and-sugar mixture, and completely homogenous." You want to make sure their are no streaks of anything in the mixture, a process you shouldn't rush according to the book.
In a separate bowl sift together 2 cups cake flour, 1 1/2 teaspoons baking powder, 3/4 teaspoons salt, then add in 1/4 cup rainbow sprinkles, and with the mixer speed back down to low, add the dry mixture very slowly. Mix for about a minute until everything has just combined.
Pour the mixture into a greased quarter sheet cake pan, and use a spatula to smooth everything out. Bake for 30-35 minutes. The cake will get much fluffier, and will bounce back slightly when pressed, but should not jiggle. Allow the cake to completely cool for at least a couple of hours before you do anything. You don't want to mess up your beautiful cake by being impatient here!
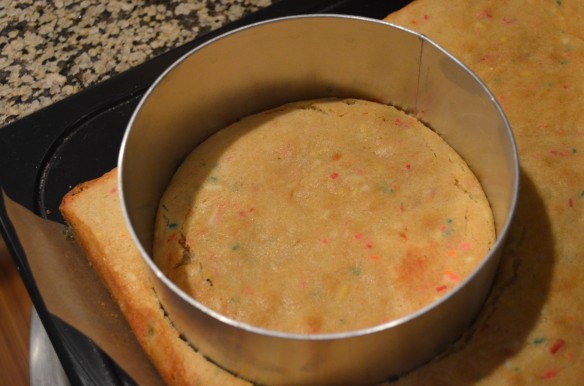
Use a 6" cake ring to stamp out two circles. Gather all of the leftover bits and crumble them in order to form the bottom layer during assembly. You can almost cut out two half-circles from the leftovers then just fill in the middle with crumbs to make a complete circle, which is what I did. At this point in time you should make the birthday cake soak— 1/4 cup of milk mixed with 1 teaspoon of vanilla extract— that you will use to get the crumbs moist enough to stick together and provide the cake itself with a little extra moisture and vanilla flavor.
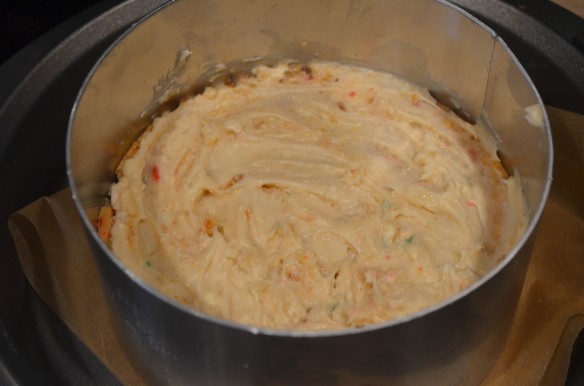
You should also make the incredibly yummy birthday cake frosting. To make the frosting, combine a stick of softened butter with 1/4 cup of vegetable shortening, and 2 ounces of softened cream cheese back in the bowl of a stand mixer with a paddle attachment on medium-high until smooth. Next add 1 tablespoons + 2 teaspoons of light corn syrup and 1 tablespoon of vanilla extract. The original recipe calls for 1 tablespoon of glucose and 1 tablespoon of corn syrup, but I followed the "in a pinch" tip in the book because I could only find large containers on Amazon, in which I didn't want to invest, and our Michael's wasn't stocking it, at least at the moment. Mix on medium-high for 2 minutes until smooth and glossy. Add 1 1/4 cups powdered sugar, 1/2 teaspoon salt, and a pinch of baking soda. Once again the original recipe called for another ingredient, citric acid, and while I know the foreword in the beginning encourages bakers not to omit ingredients, I couldn't find citric acid at the grocery store. My cake turned out fine without it, so I'm sure yours will, too. Let me tell you— the combination of butter, shortening, and cream cheese along with the corn syrup makes some of the fluffiest frosting I've ever seen, and it is really reminiscent of frosting from a can that even though you know is bad for you, sometime you just crave and want to eat straight from the jar with a spoon.
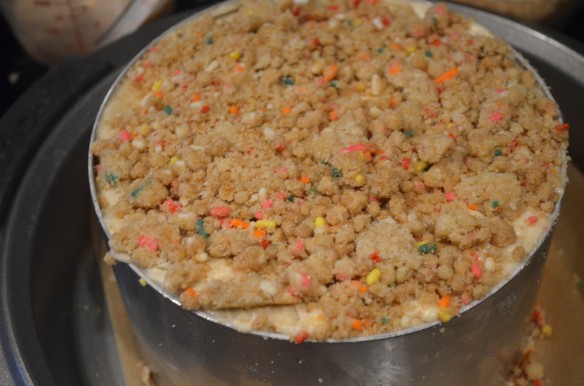
Next comes the assembly of the cake. First I placed a sheet of parchment paper inside a pie pan and placed the cake ring on top. The recipe calls for use of acetate strips to wrap on the inside of the cake ring and have stick up to help keep your cake together, which would have been useful, but I could only find acetate strips in huge bulk packs like a full-scale bakery would buy, so I passed on them as well. I see online some people got similar plastic strips from office supply stores, but there is some question as to whether or not this is a good idea since the plastic is not food-quality. I decided to stick with being safe. The acetate strips sticking up would have been helpful towards the end of the assembly process, as I did have a layer break on me that probably would have benefited from the structure of the strips. In the end it wasn't worth spending a lot of money on acetate strips. Maybe if you want a perfect looking cake to sell, but just for personal consumption, my slightly broken cake was more than adequate. The original instructions for assembly get somewhat complicated here, but I made them more simple by not using the acetate rings. Take your two nearly-half-circles and the scraps and place them inside the cake ring, firmly pressing all the scrap together to form a flat layer. Using a pastry brush, bathe the layer with a healthy dose of the birthday cake soak. Spread 1/3 of the frosting on top of the layer followed by 1/3 of the birthday cake crumbs. Add one of the circle layers, followed by a dusting of birthday cake soak, another 1/3 of the frosting and 1/3 of the cake crumb, and repeat with the last cake layer, completely covering the top with the crumb or forming an interesting pattern if you so desire. It can be hard to get the crumbs not to fall off the sides (this is where the acetate strips can come in handy), but with some careful pressing of the crumb into the frosting, I was able to manage just fine.
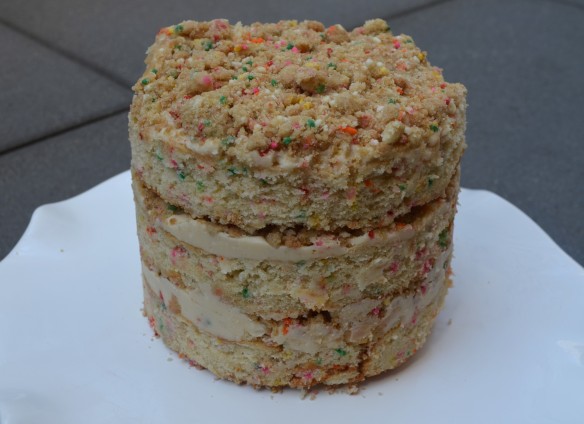
Wrap the cake tightly in plastic wrap to hold it all together and let it sit in the freezer overnight (12 hours is the minimum time according to the recipe). No less than 3 hours before you'd like to serve the cake, remove it from the freezer, very carefully push the layer cake through the cake ring. Transfer to a cake stand then place the stand in the refrigerator to defrost. When ready to serve, cut into slices and enjoy. You can very easily get 12 slices from this cake. Even if each slice is pretty narrow, it's very tall with plenty of frosting and cake crumb goodness in each bite.
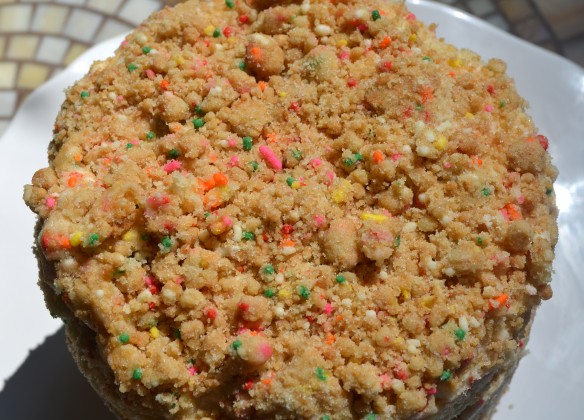
I think this cake looks pretty cool and very different than your boringly frosted, average birthday cake from-a-box. I also like all of the colorful sprinkles mixed in!
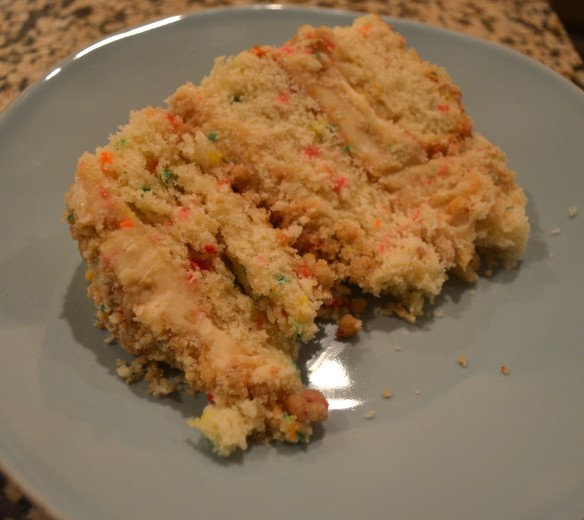
Even cut into twelve pieces, you still end up with enormous slices. But each and every calorie is so worth it. You won't be able to quit after that first bite. Sorry for the not so great picture of the slice, but we were in a hurry to start eating!
Over the next year I really hope that we continue to be adventurous in the kitchen, and we'd really like to improve on our photography skills. And hopefully this time next year, I'll be starting grad school on my way to a perfect career path while continuing to share our daily journeys with food!
Happy Birthday!


